Step-by-Step Furniture Refinishing Techniques: Bring Old Pieces Back to Life
Chosen theme: Step-by-Step Furniture Refinishing Techniques. From the first assessment to the final wax buff, this guide walks you through every stage with clarity, confidence, and heart. Whether it’s a flea-market gem or a family heirloom, you’ll learn repeatable steps that turn tired finishes into timeless surfaces. Join the conversation, ask questions, and subscribe for more step-by-step restorations.
Start Smart: Assess, Plan, and Prepare
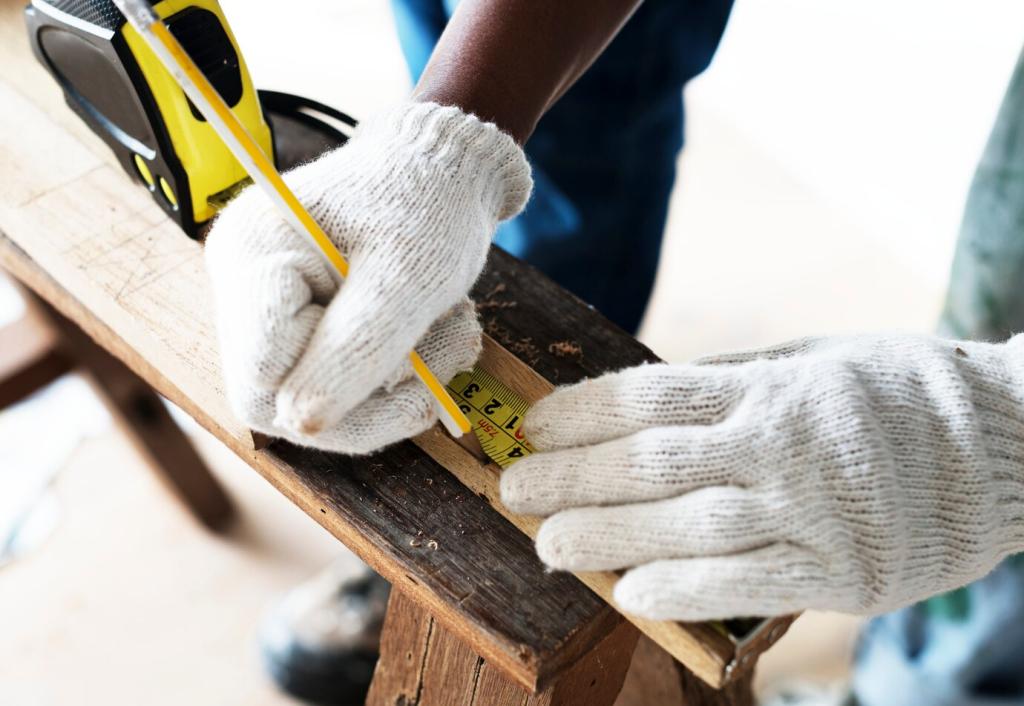
Look for veneer edges, grain direction, and previous repairs before deciding on your technique. Try a small alcohol or lacquer thinner test to identify the existing finish. My grandmother’s oak dresser revealed shellac with this test, guiding a gentle, respectful approach from the start.
Strip with Precision: Remove Old Finishes the Right Way
Choose the Right Stripper or Method
For shellac and lacquer, alcohol or lacquer thinner melts quickly with minimal abrasion. For thick unknown finishes, a semi-paste methylene chloride–free stripper can be safer on details than aggressive sanding. Heat guns require a steady hand to avoid veneer bubbles and scorch marks.
Re-glue loose mortise-and-tenon joints using liquid hide glue for reversibility or PVA for strength, depending on period and use. Dry-fit with clamps to check alignment before spreading glue. Protect surfaces with cauls and wax paper to keep squeeze-out controlled and cleanup easy.
Patch Veneer and Fill Defects with Care
For missing veneer, cut a patch with the grain aligned, using a paper template for a precise fit. Use hot hide glue or a veneer adhesive with a warm iron. For small chips, choose a stainable filler and plan to grain-paint convincingly after coloring.
Sand Purposefully, Not Aggressively
Follow a sensible grit progression—120 to 150 to 180, sometimes 220 for close-grained woods. Sand with the grain using a block to keep edges crisp. Avoid power-sander rounding. Wipe with mineral spirits to preview scratches before moving forward, then correct them methodically.
Seal and Protect: Choosing and Applying Topcoats
Pick a Finish That Matches the Job
High-traffic tabletops appreciate oil-based polyurethane or conversion varnish, while shellac flatters antiques with warmth and repairability. Waterborne poly keeps color neutral on maple. Think about touch, sheen, and maintenance before committing. What’s your go-to finish for dining tables? Share your reasoning.
Brush, Wipe, or Spray with Discipline
For brushing, tip off with the grain and avoid overworking. Wiping varnishes level beautifully in thin coats. Spraying yields the smoothest results but demands good technique and ventilation. Between coats, scuff with 320–400 grit and tack off dust for a flawless, stacked finish.
Cure, Rub Out, and Sheen Control
Let finishes cure fully—often days, not hours—before rubbing out. Use automotive compounds, pumice, or rottenstone with lubricants to refine sheen and remove nibs. A careful rub unifies the surface, turning good into great. Drop a comment with your favorite rubbing schedule.
Final Touches, Care, and Storytelling
Clean hardware gently, preserving patina when appropriate. Use a scratch awl to center pilot holes and avoid stripping screws. Align pulls by referencing your disassembly photos. A small tweak in placement can visually straighten an entire drawer bank—share your favorite alignment tip below.