Common Mistakes in Furniture Restoration and How to Avoid Them
Today’s chosen theme: Common Mistakes in Furniture Restoration and How to Avoid Them. Welcome to a hands-on, honest guide for reviving beautiful pieces without losing their soul. We’ll share practical fixes, cautionary tales, and pro habits that keep your projects on track. Enjoy the journey, ask questions in the comments, and subscribe for weekly restoration wisdom.
Stripping and Cleaning: Chemical Pitfalls
Different finishes dissolve differently: shellac softens with alcohol, lacquer with lacquer thinner, and some varnishes respond only to strong strippers. Dab a tiny area on a back leg or underside. Watching how it reacts will guide your safest, least invasive path forward.
Stripping and Cleaning: Chemical Pitfalls
Many strippers leave waxy residues that sabotage new finishes, causing fish-eyes and peeling. After stripping, follow the manufacturer’s neutralizer or wipe with mineral spirits, then allow a full dry time. If using lye-based cleaners, neutralize with a mild acid rinse to stabilize pH.
Match Glue to the Era
Antique pieces were often assembled with hot hide glue, which is reversible and compatible with historical repairs. PVA may block future fixes and struggle on old glue lines. Epoxy has its place on damaged substrates, but use it sparingly. Think reversibility first whenever possible.
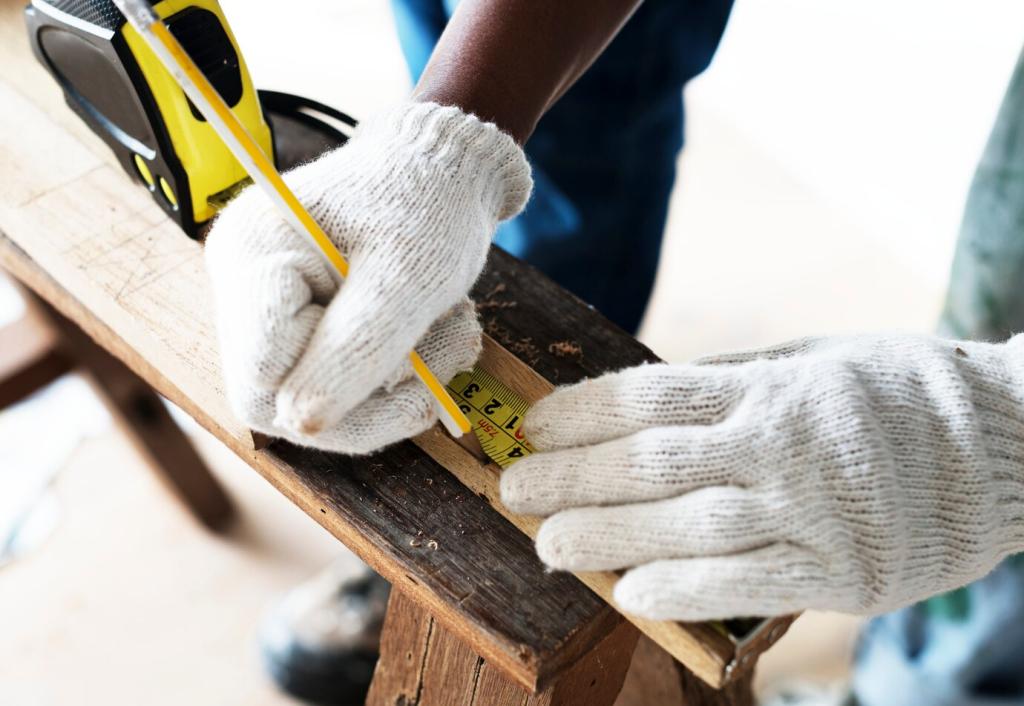
Avoid Starved Joints
Over-clamping can squeeze out too much adhesive, leaving a weak bond. Aim for firm, even pressure using cauls to distribute force. Dry-fit first, mark alignment, then glue. A thin, consistent squeeze-out bead is the visual cue that you’ve hit the sweet spot.
Story: The Chair That Squeaked Back
A ladder-back chair kept groaning after every repair until the restorer cleaned out old hide glue properly and reset the mortises with fresh adhesive. Silence returned, along with stability. Got a stubborn joint saga? Add your tale and subscribe for deep dives on joinery fixes.
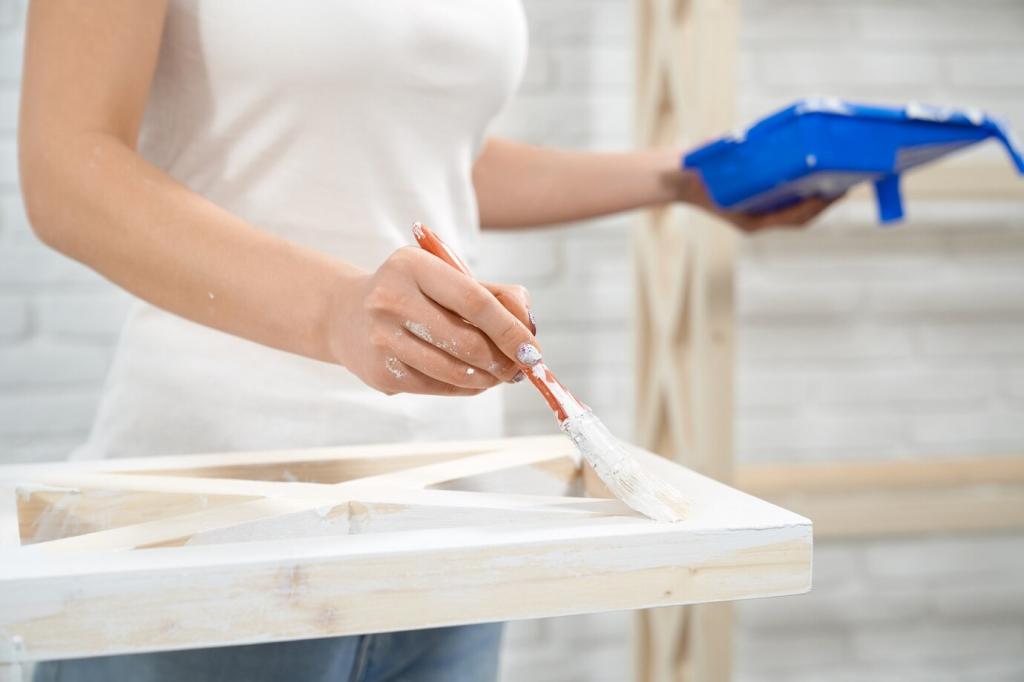
Finishing Errors: Blotching, Brush Marks, and Dust
Softwoods like pine and poplar blotch without a pre-stain conditioner or washcoat of shellac. Open-pored woods like oak and mahogany often benefit from grain filler for a glassy look. Surface prep determines the final sheen, so invest time here and you’ll save time later.
Finishing Errors: Blotching, Brush Marks, and Dust
High humidity and low temperatures slow curing, invite blush, and trap dust. Aim for moderate conditions and clean the space thoroughly. Tack-cloth between coats, strain finishes, and keep a dedicated drying zone. Your future self will thank you when the final coat levels beautifully.
Color Matching and Patina Respect
Lightly clean before you recolor, then tone with dyes or shaded shellac to integrate repairs. Keep honest wear on high-contact areas if it serves the piece’s character. Your goal is coherence, not a suspiciously new-looking antique that loses its narrative.
Photograph hardware in place, then label each piece and bag it by location. Thread patterns and hole spacing vary subtly. Reinstalling original screws and escutcheons in their exact homes helps alignment and protects fragile fibers around holes from splitting or widening.
Use veneer tape and a hot iron with hide glue for period-appropriate patches. Align grain direction and color before cutting. Press flat with cauls while curing. Once leveled, tone the patch to surrounding patina, avoiding the too-perfect square that screams repair.
Oak’s tannins react with iron, creating blue-black stains when tiny steel fragments embed in pores. Choose bronze or synthetic pads instead. If stains occur, an oxalic acid treatment can help—but test carefully and neutralize to ensure your finish adheres flawlessly afterward.
Capture before, during, and after images from multiple angles. Note screw lengths, hinge orientation, and shimming details. These references reduce rework and calm the nerves during reassembly. Share your favorite tracking method, and follow along for printable checklists we’ll release soon.
Use offcuts or hidden areas to mock up your entire finishing schedule: dye, sealer, filler, stain, and topcoat. Record ratios and dry times. This cheap rehearsal prevents expensive surprises on the show surface and builds your personal library of reliable combinations.
Ask questions, post progress shots, and learn from other restorers who have navigated similar challenges. Comment with your top mistake to avoid and the tip that saved you. Subscribe so you never miss our next deep-dive on careful, confident restoration techniques.