Simple Upholstery Repair Tips for Beginners

Chosen theme: Simple Upholstery Repair Tips for Beginners. Start small, learn dependable basics, and revive a chair or stool this weekend with friendly, practical guidance. Subscribe for weekly beginner wins, gentle nudges, and inspiring before‑and‑after stories you can realistically achieve at home.

Your First Upholstery Toolkit

A real staple remover slips under crowns without gouging wood, while a flat screwdriver often chews fibers and chips edges. Pair it with diagonal pliers for stubborn staples, and keep a small magnetic tray for metal bits. Tell us your favorite tool and why it earns a place.

Your First Upholstery Toolkit

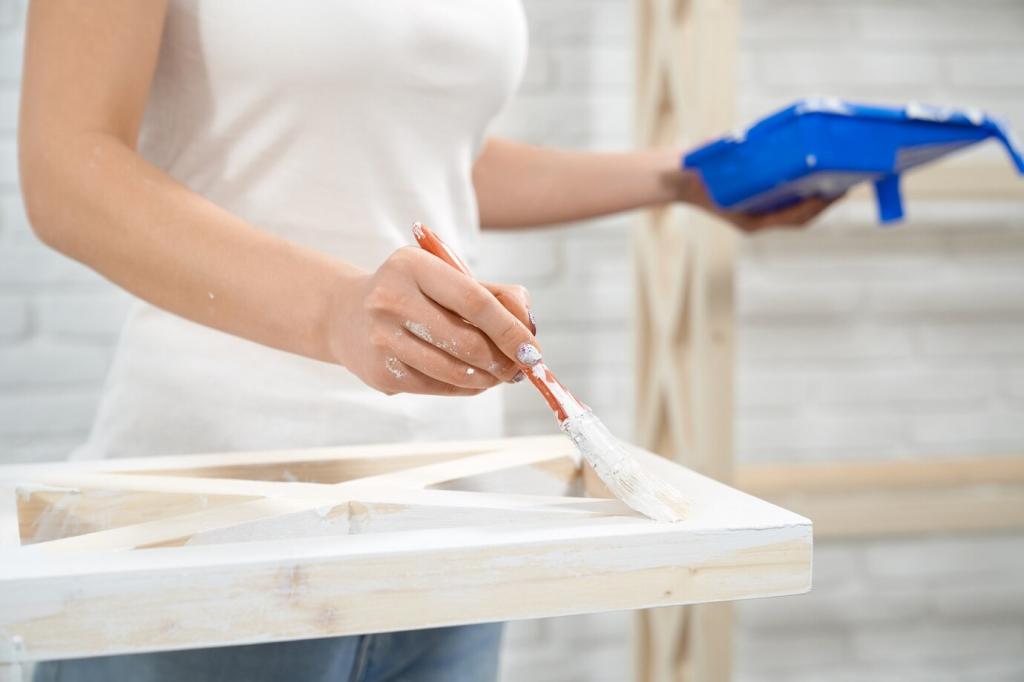
Medium‑duty staples, cotton batting, a yard of durable fabric, fabric glue, and masking tape handle most beginner fixes. Canvas drop cloths stretch neatly, microfiber hides mistakes, and spray adhesive lightly tacks foam. Subscribe to receive a printable checklist you can bring to the hardware store.

Smart Fabric Choices for First Repairs

Denim, canvas, twill, and microfiber resist snagging and stretch just enough to smooth corners. Avoid slippery velvet and loosely woven burlap at first. Small, scattered patterns hide staple spacing learning curves. What fabric has helped you feel most confident on a first project?

Smart Fabric Choices for First Repairs

Use chalk to mark the centerline of your seat and your fabric motif. Tape those lines to the frame with painter’s tape before stapling. I once misaligned stripes by a thumb’s width; now I always center the boldest stripe and work outward calmly.

Quick Fixes for Sagging Seats

Tighten with jute webbing and tacks

Weave jute webbing in a snug grid, pulling each strip taut. A webbing stretcher helps, but a clamp and scrap stick can substitute in a pinch. Aim for steady tension, not brute force, and comment if you prefer a 3×3 or 4×4 weave pattern for dining seats.

Foam refresh on a budget

High‑density foam two to three inches thick supports most dining seats. Wrap it with cotton batting to smooth edges and prevent fabric friction. An electric carving knife makes clean cuts. Reuse old foam only if it rebounds quickly and has no smell or crumbling edges.

No‑sew cushion revival

Slide a thin foam layer under the existing cover, then add batting to soften transitions along corners. Tug gently toward the center as you staple, working in small increments. I revived my grandmother’s library chair in under an hour using this method, and it still feels supportive.

Stapling, Stretching, and Clean Corners

Start with a staple at the middle of each side, pulling gently, then work in small steps, alternating opposite sides. This balances tension and reduces ripples. Pause often to smooth with your hand. Comment if the compass method finally ended your puckers and uneven pulls.

Strip Old Fabric Without Tears

Map before you remove

Take photos from every angle, label layers as they come off, and save the dust cover as a pattern. Tiny containers keep hardware sorted. Future you will thank present you when it is time to reverse the order. Save this tip and share your favorite labeling trick.

Remove staples like a pro

Slide the remover under the crown, rock gently to lift, then pull with pliers. Work with good light and a stable surface. Keep a magnet handy for broken bits. Patience beats speed here—what’s your record for most staples pulled from a single thrifted chair?

Assess and tune the frame

With fabric off, check joints, corner blocks, and cracks. Add wood glue where wobble appears, clamp firmly, and let it cure fully. Fill small divots with wood filler and sand lightly. Subscribe for our pre‑reupholstery checklist to catch problems before fresh fabric goes on.

Finishing Touches and Confidence Boosters

Trim stray threads, add gimp or double‑welt if desired, and staple a new dust cover for a tidy bottom. Spray fabric protector lightly in a ventilated area. Add felt pads to chair legs. Share your favorite finishing flourish so others can borrow the idea confidently.

Finishing Touches and Confidence Boosters

Name your project and celebrate the small victories—centered pattern, smooth corner, or perfectly quiet seat. My first win was a wobbly thrift‑store stool that became an office favorite. Post your before‑and‑after and tag us; we love cheering beginner breakthroughs.

Finishing Touches and Confidence Boosters

Line up a simple dining seat, then an ottoman. Keep a project log with measurements, fabric choices, and lessons learned. Schedule ninety‑minute sessions so progress feels manageable. Comment with your next target piece, and subscribe for a gentle, weekly skill‑building roadmap.
Netgainblog
Privacy Overview

This website uses cookies so that we can provide you with the best user experience possible. Cookie information is stored in your browser and performs functions such as recognising you when you return to our website and helping our team to understand which sections of the website you find most interesting and useful.